Migrating from ExpressionEngine to Kirby
May 14, 2013
When I redesigned my site this year, I took the opportunity to switch the content management system I was using. I built the new site on Kirby, a lightweight, flexible system that reads all the content from text files, instead of a database. I like this approach. All my new posts start as text files anyway, and it is a nice feeling having all the content I’ve written for this site there in easy-to-access text format rather than a mysterious database in the clouds. It’s like I have an instant easy-to-read backup of my site sitting on my computer.
For years, this site ran on ExpressionEngine, a highly capable content management system. I would certainly recommend ExpressionEngine for plenty of types of projects, but for now, Kirby’s a great fit for me.
Transitioning from ExpressionEngine to Kirby was an interesting process in which I learned a lot. The first and biggest task was to get all of my posts out of ExpressionEngine and into individual text files. Here’s how you can do it too:
Step 1: Build a Kirby-Friendly EE Template
I’ll assume that since you have an ExpressionEngine site, you’re comfortable building a template to show your entries. Basically your goal with this step is to have a single page with all of your entries on it. Here’s a good start:
  {exp:channel:entries channel="blog" limit="9999" sort="asc"}
  Title: {title}
  ----
  Date: {entry_date format="%F %d, %Y"}
  ----
  Slug: {url_title}
  ----
  Text:
  {body}
  ----
  ##########
  {/exp:channel:entries}
Put nothing else in this template. No design, header, footer, nav, etc. This should be only your posts and nothing else.
Feel free to customize this to your heart’s content. I certainly had to tweak mine a few times to get it just right. Make sure you keep the general format of this template, including the ##########. We will use that part with the hashes to tell our script where to separate the posts.
Once you’ve saved that template, visit that corresponding page in using your web browser. If you have a few hundred posts, it might take a few seconds to load, but the result should be a nice plain page of all of your posts. If you have too many posts it might not load at all. You might need to break this up into multiple pages, where you do a few hundred posts at a time. Play with it a bit and see what you can get.
Step 2: Your posts.txt file
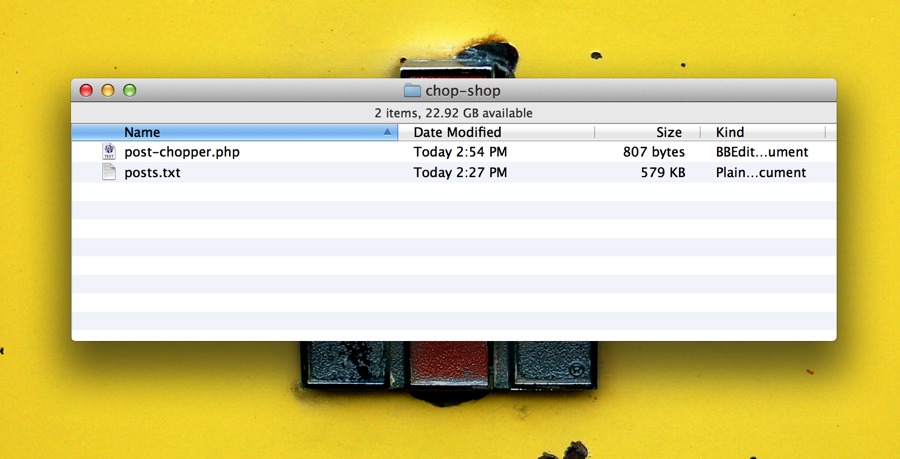
First, go to your desktop on your computer and create a new folder. I called mine “chop-shop”.
Next, you need to download that posts page to your computer. There are plenty of ways to do this, but if you’re new to this kind of stuff, the safest bet is to view source and copy and paste that into a text file on your computer. The result you are aiming for is a plain text file with all the text and info about your posts. Call it what you like, but posts.txt sounds good to me.
Step 3: Your Post Chopper Script
Next we’re going to get a little awesome using some code. Trust me, this won’t be too painful. The first step for you is to download the Kirby Post Chopper. Unzip it and move post-chopper.php into the same folder you have your posts.txt file.
The post chopper script that you just downloaded will take your posts.txt file and turn it into a bunch of folders and files based upon a few assumptions:
- First, it looks for
##########to decide where to separate posts. - Next, it looks for the
Slug:line to decide what to name the folder, adding the post number to the beginning. (e.g. The post withSlug: mix-tape-3became the folder named397-mix-tape-3.)
Ready? Let’s go. Open up a terminal window, navigate to your chop-shop folder (cd Desktop/chop-shop), and run this script using the following command: php post-chopper.php. Hit enter, and you’ll see it go crazy creating new folders.
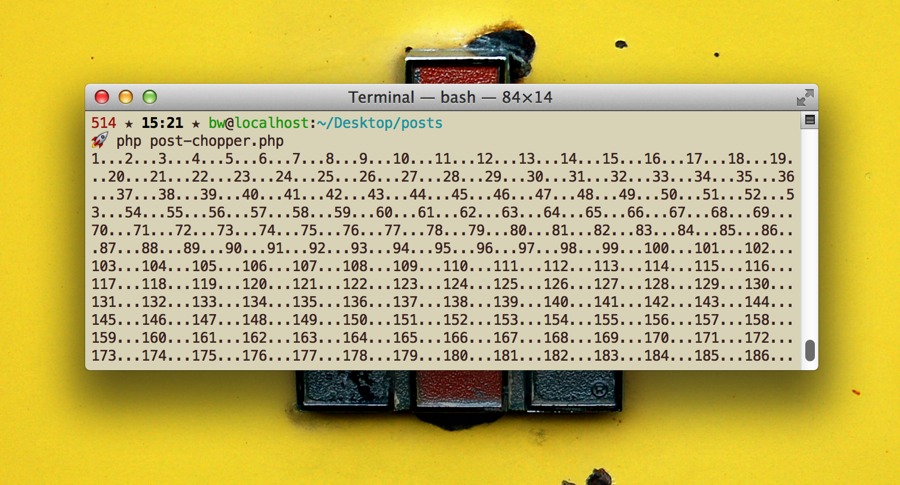
Once it’s done, check out the results. There should be a new folder called posts, and inside is all of your posts.
Step 4: Kirby Templates
Once you have Kirby installed, you will want to create a folder for your posts. This should live in the content folder, and give it a number and a name, such as 05-blog.
Next, we are going to make three files. The first is blog.txt. It’s a very simple file:
Title: Blog
----
Text: This is a nice Demo Blog.
----
Save this in your 05-blog folder. That’s right: Inside that folder is a bunch of folders for all your posts and this lonely little text file.
The other two files are going to be php templates. In your Kirby folder, open up site/templates and create two files: blog.php and blogarticle.php.
blog.php
This page serves up a list of your posts. At bare minimum, you should have something like this in there:
<?php // Outputs the contents of blog.txt in the blog posts folder ?>
  <h1><?php echo html($page->title()) ?></h1>
  <?php echo kirbytext($page->text()) ?>

<?php // The posts loop ?>
  <?php $articles = $page->children()->visible()->sortBy('date', 'desc')->paginate(10) ?>
  <?php foreach($articles as $article): ?>
  <article>
    <p class="date"><?php echo $article->date('j F Y') ?></p>
    <h1><a href="<?php echo $article->url() ?>"><?php echo $article->title() ?></a></h1>
    <?php echo kirbytext($article->text()) ?>
  </article>
<?php endforeach ?>
There are two sections to this file. The first shows the contents of that blog.txt file we created. The second section loops through the posts.
blogarticle.php
This page serves up a single post. Notice how the title of this file maps to the title of the .txt files for each of your posts? Not a coincidence.
<article>
    <p class="date"><?php echo $page->date('j F Y') ?></p>
    <h1><?php echo $page->title() ?></h1>
    <?php echo kirbytext($page->text()) ?>
</article>
You will want to get a little more creative to design these pages, adding all the extra stuff you will need to make these work, but these code blocks should help get you started.
Step 5: It’s up to you
From here, it’s up to you. I recommend familiarizing yourself with the “How to build a blog with Kirby” series. This helps a lot with the basics and gave me a great launching point to start customizing stuff for this site. Check out the post about custom post types too for some good tips on making blogging with Kirby well-suited for you.
I could have written lots more about getting started with Kirby, but I mostly wanted to focus this article on transitioning from ExpressionEngine. Any questions, thoughts, and tips are more than welcome.